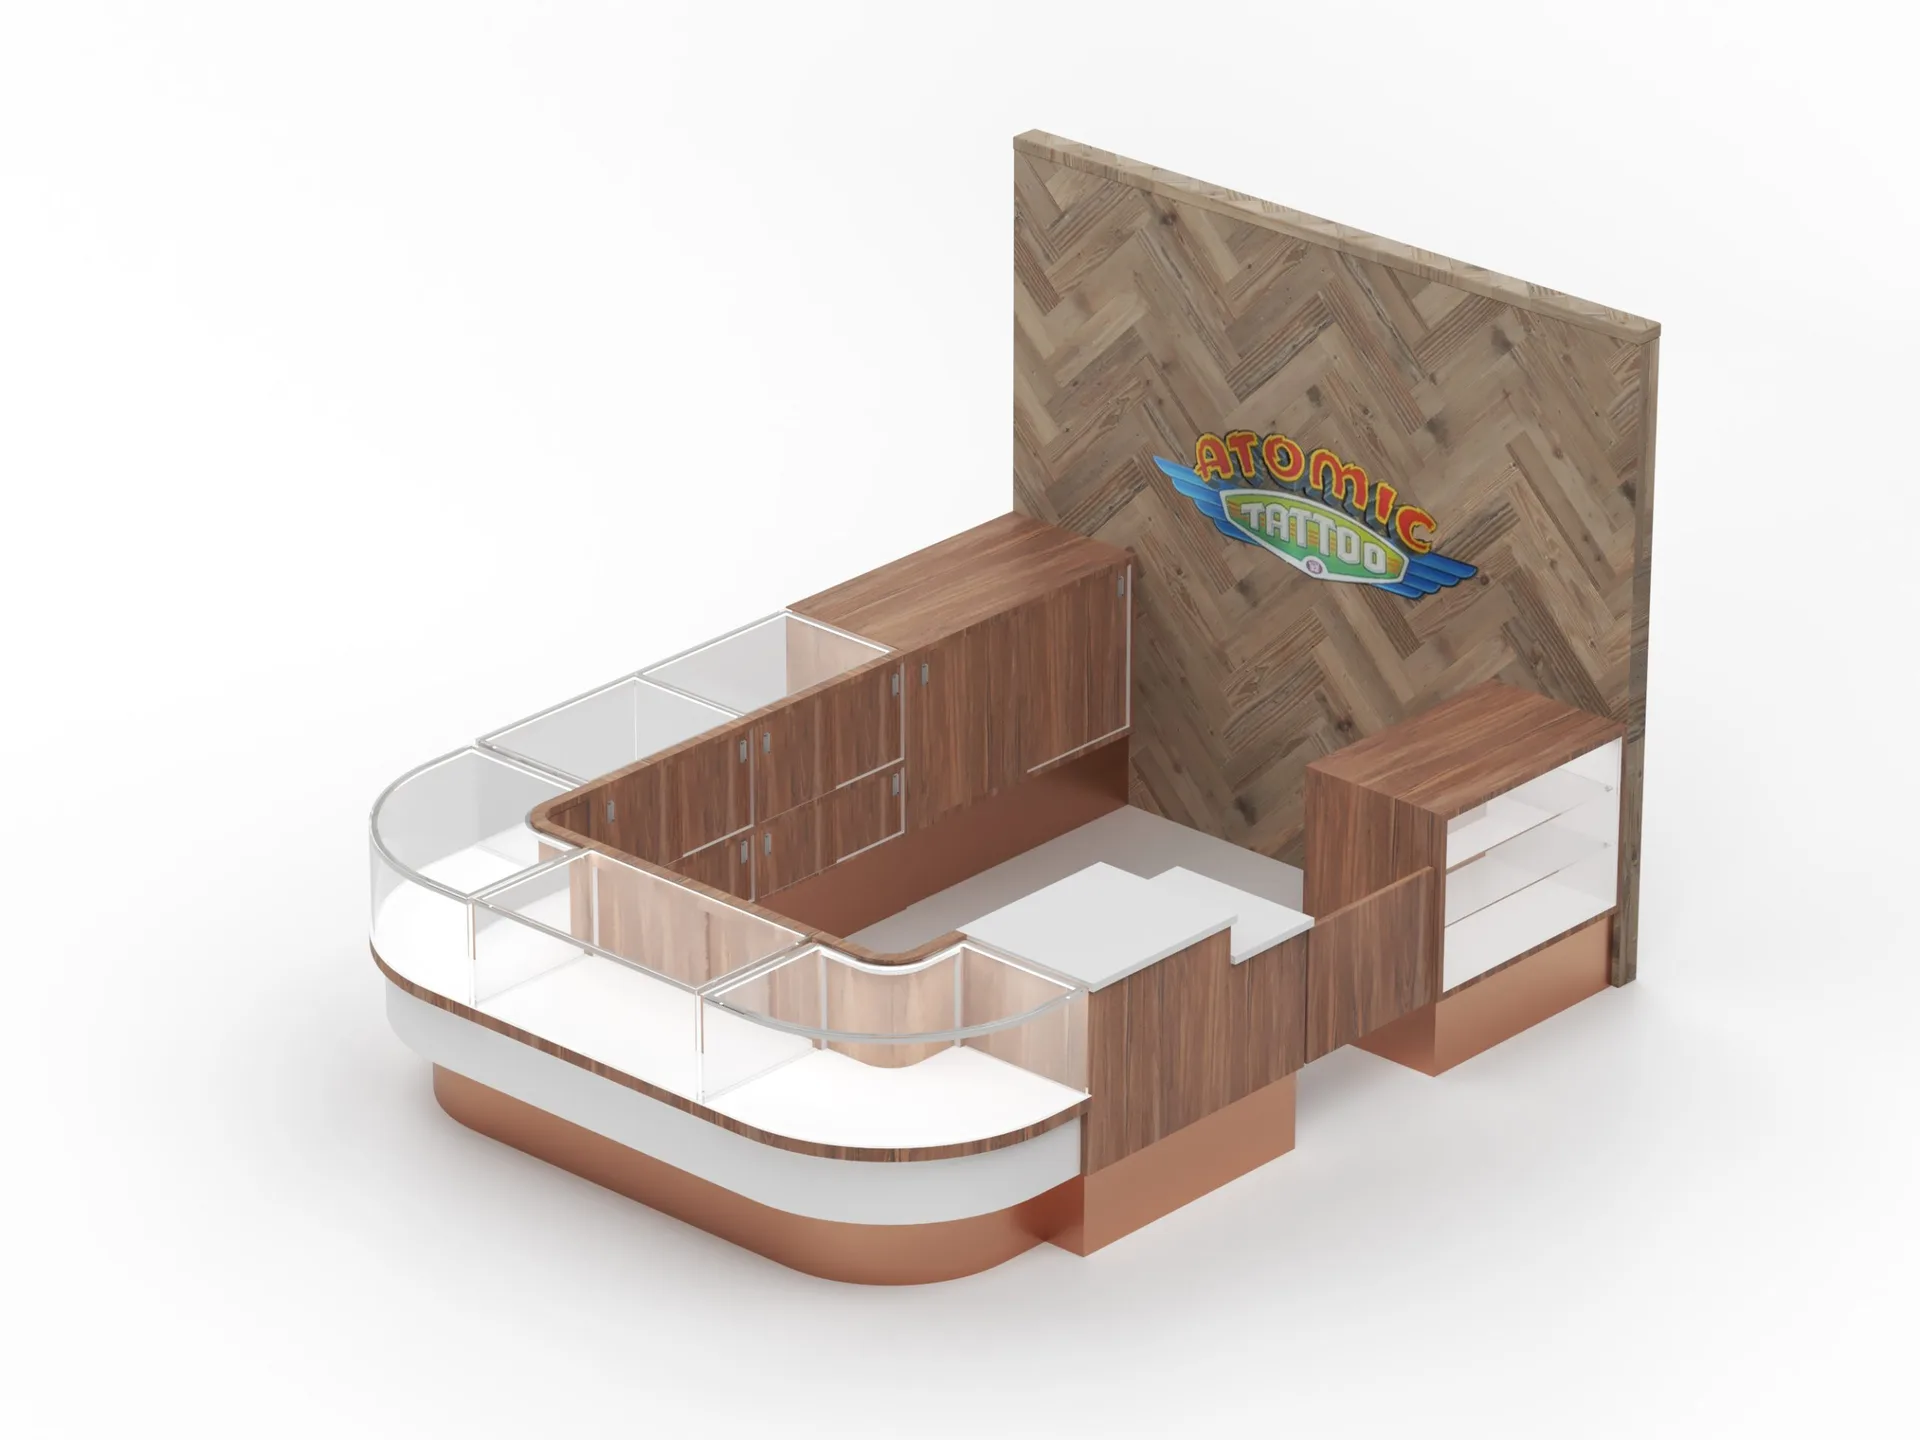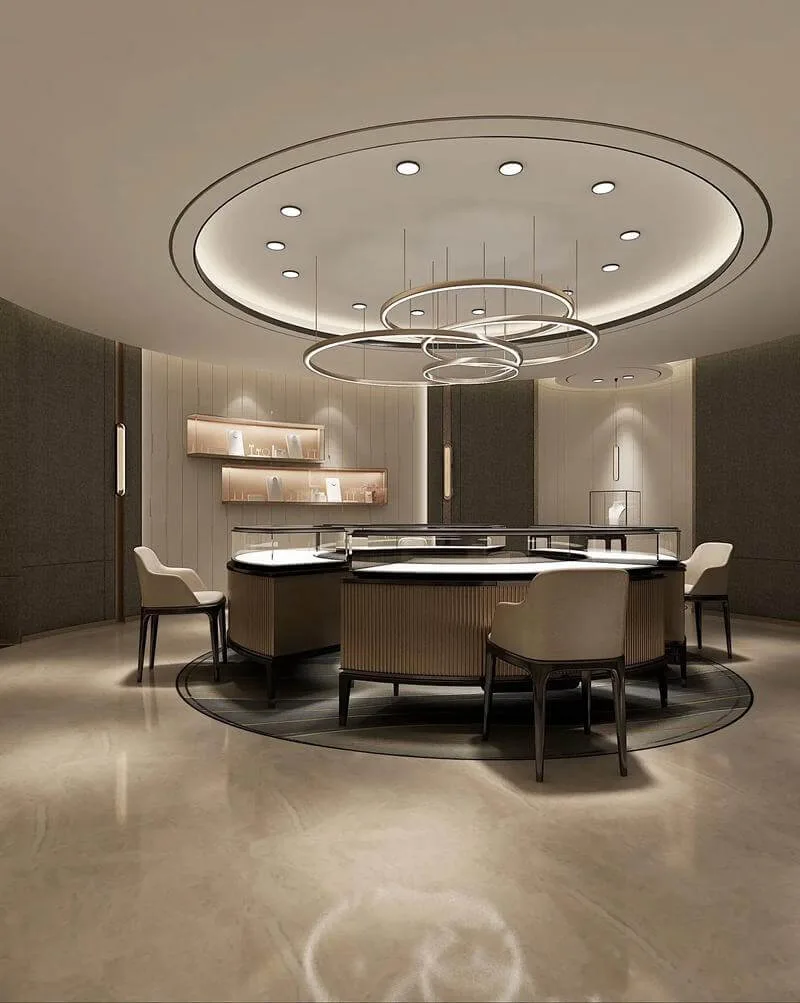
Design reference: this page is not presented as a completed Benson Display client project. Use the layout and fixture ideas to describe your own requirements; specifications and project scope need separate confirmation.
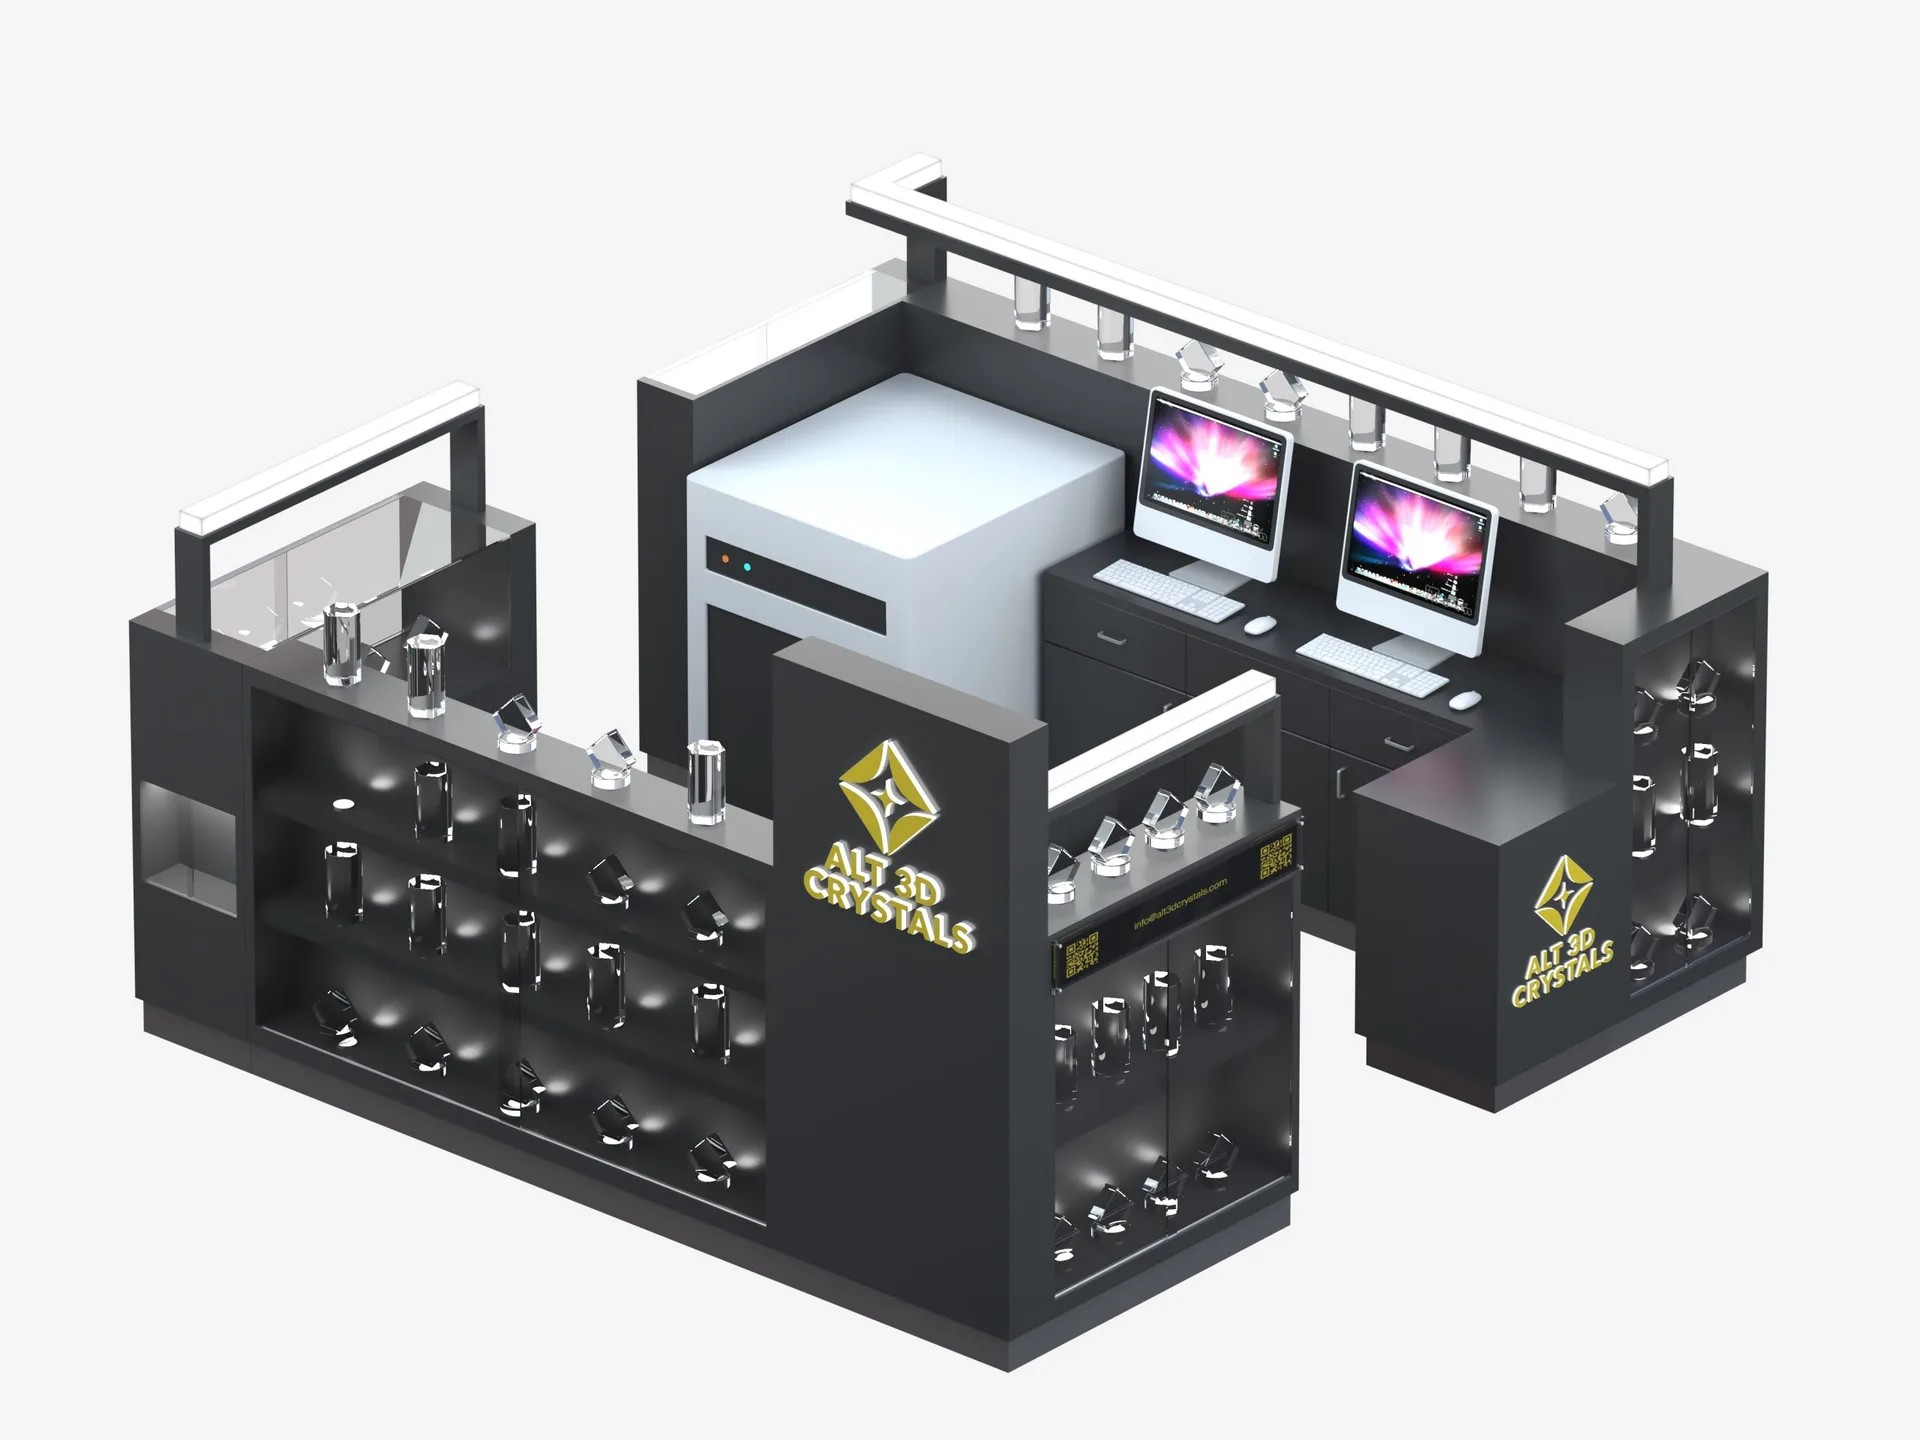
These 3D designs showcase “ALT 3D CRYSTALS” crystal jewelry kiosk’s design, blending aesthetics and functionality.
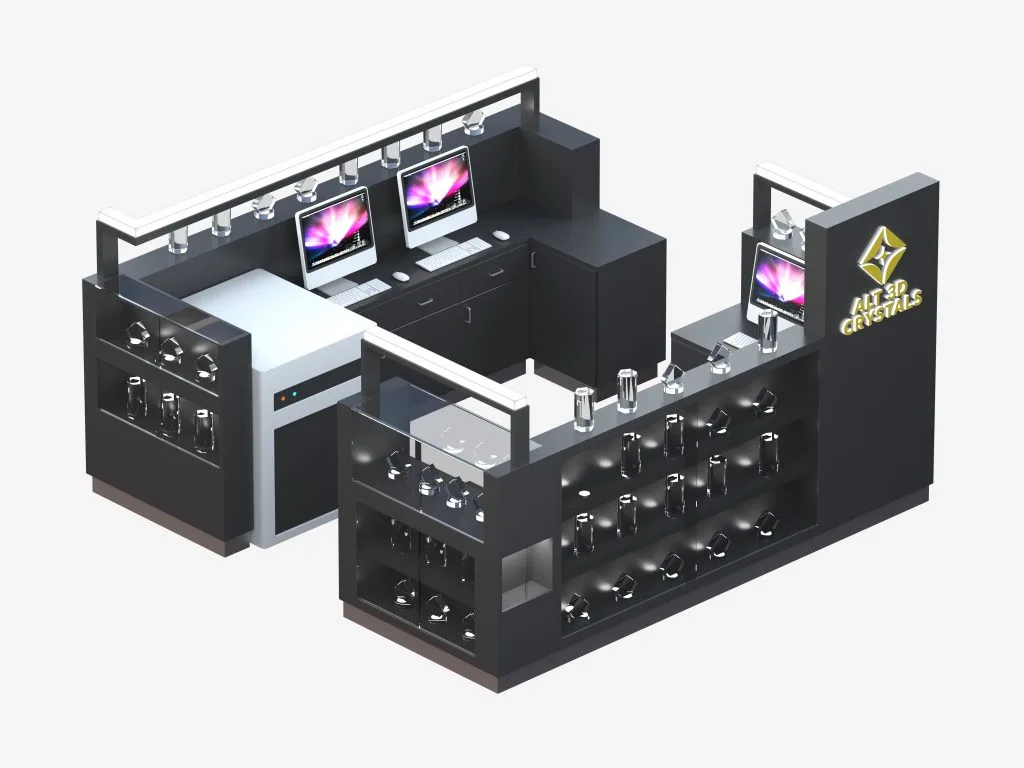
Visual Design
Color Strategy
Using black as the base color, paired with golden brand logos. Black conveys a sense of stable luxury, while gold enhances the delicate touch. Their combination perfectly highlights the high-end positioning of crystal jewelry.
Lighting Design
Hidden light sources inside display shelves precisely project light. The play of light and shadow emphasizes the crystals’ transparency and cutting craftsmanship, significantly boosting visual appeal.
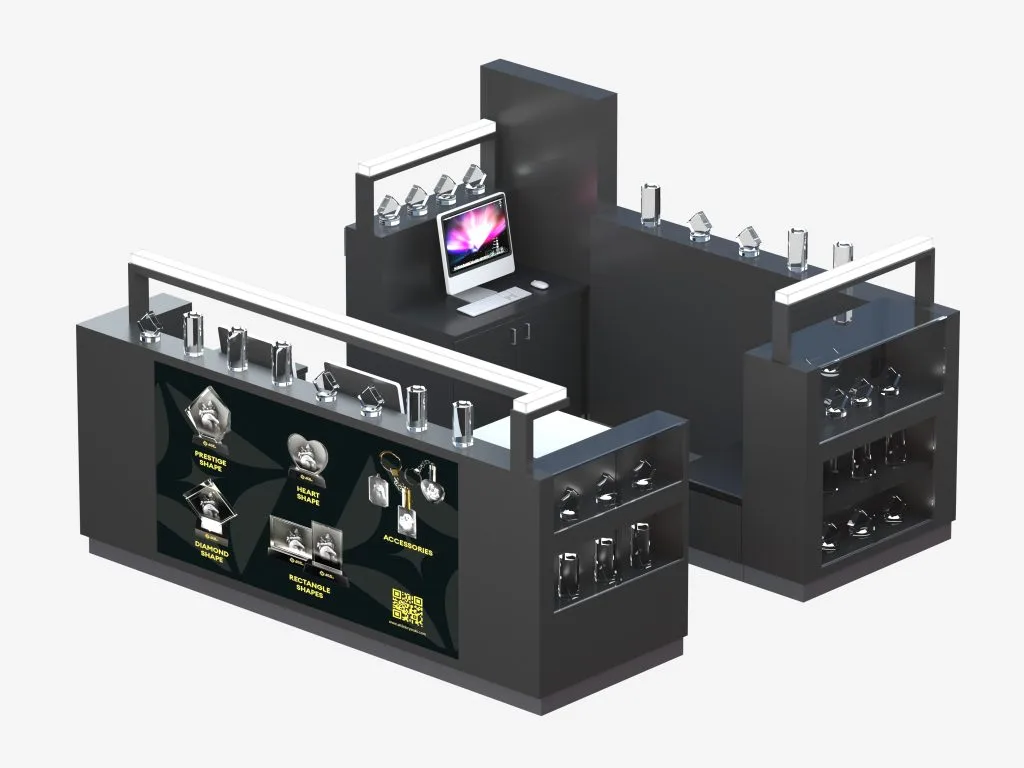
Functional Layout
With diverse display setups—open shelves, countertops, etc.—crystal items like pendants and ornaments are layered for easy browsing. This maximizes space use while catering to customers’ viewing habits.
Equipped with computers for 3D design demos, custom service introductions, or online shopping. Infusing tech elements elevates the overall consumption experience.
An internal workbench (like the white equipment zone) is reserved for tasks like jewelry packaging, custom processing, or consultations, ensuring smooth back-end operations.
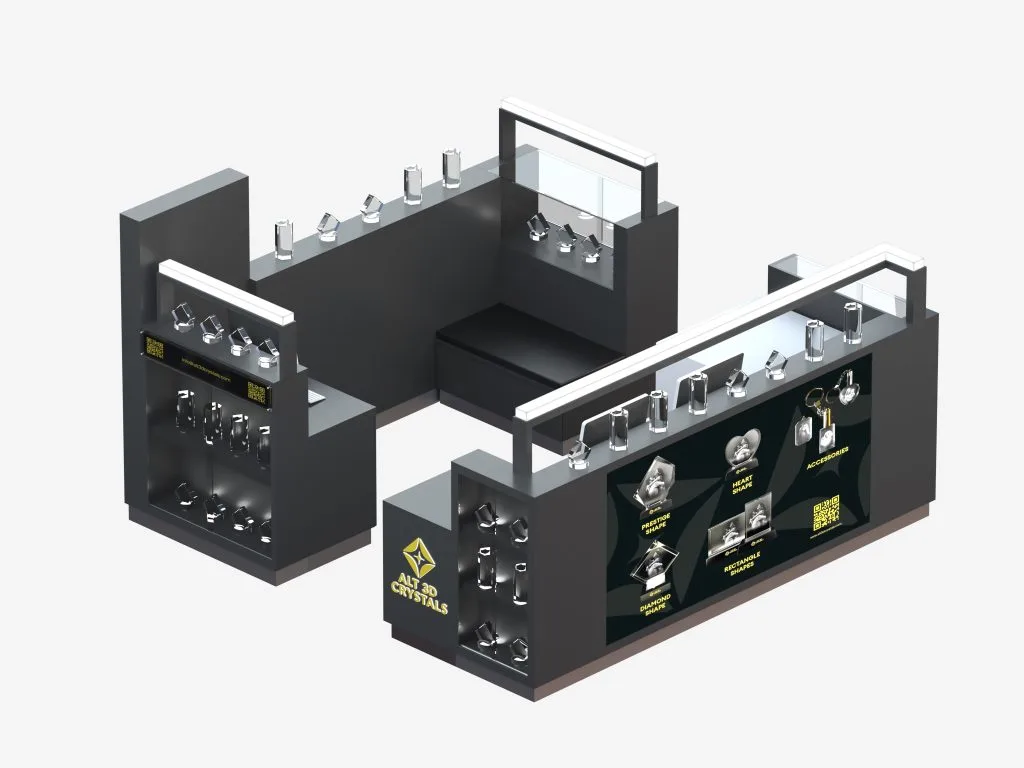
Brand Strengthening
Frequent Logo Exposure
“ALT 3D CRYSTALS” appears in golden 3D formats on walls and cabinets, reinforcing brand memory.
Information Visualization
Cabinet sides feature product promo images labeled with types like “PENTAGON SHAPE” and “ACCESSORIES,” intuitively conveying product details to guide purchase decisions.
Spatial Structure
Plan the Showcase and Customer Service Together
List the product types and presentation trays before setting the showcase dimensions. Rings, necklaces and larger crystal pieces need different display heights and viewing angles. Allow for the trays, lighting and staff access rather than judging usable capacity from the outer cabinet size. Keep the most important products within a comfortable viewing zone for customers standing at the counter.
Review how staff will retrieve items, return trays and move between display and storage. An L-shaped or curved counter can organize a compact selling area, but its inner working space needs to remain usable. Confirm the door opening direction, locks and cable access on the drawings. Security fittings, glass specification and lighting should be agreed as separate parts of the quotation.
Coordinate the backwall, counter finish and product lighting using physical samples where possible. Check for reflections on the glazing and shadows across the display surface before final approval. Bring a floor plan showing customer circulation, staff access and existing power points so the final arrangement supports both merchandising and assisted service.
Prepare a Project-Specific Quotation
Use the reference as a starting point, then provide a measured floor plan or the available installation footprint. Mark entrances, existing fixtures, power points and any fixed obstructions. Include the products or equipment to be accommodated, the number of units required and the preferred colour or finish references. These details help turn a visual idea into a clear scope for drawings and pricing.
Ask the proposal to identify the agreed dimensions, materials, supplied components and installation responsibilities. Confirm packaging, the delivery destination and the required schedule separately. Existing reference descriptions do not establish a current price, production time, certified performance or an exact material specification for your order. Send your requirements to Benson Display to discuss the configuration and receive a quotation for the actual project.